Contents
Device Discovery
Scan your network, auto-detect camera brands, and add devices to Kalytera.
Overview
Kalytera can automatically discover cameras on your network and detect their brand and protocol, making device onboarding fast and accurate. You can also add cameras manually if you know their IP address and credentials.
Navigate to Setup → Devices to access the device management page.
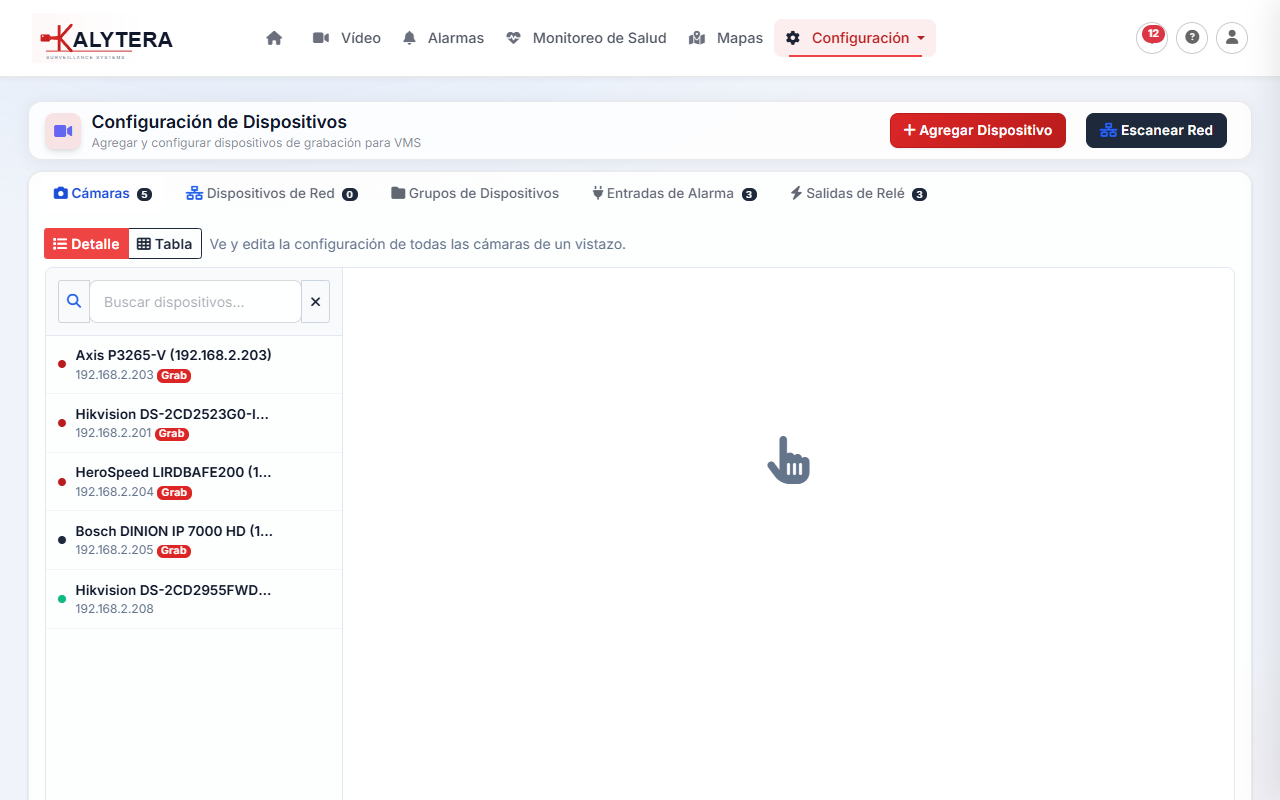
Network Scan
The Network Scanner probes a subnet for ONVIF, Hikvision, Dahua, Axis, and generic RTSP devices:
- Click Add Device → Scan Network.
- Enter the IP range to scan (e.g.,
192.168.1.1to192.168.1.254). - Enter default credentials to try during discovery (e.g.,
admin/12345). - Click Start Scan and wait for results — scanning a /24 subnet typically takes 20–60 seconds.
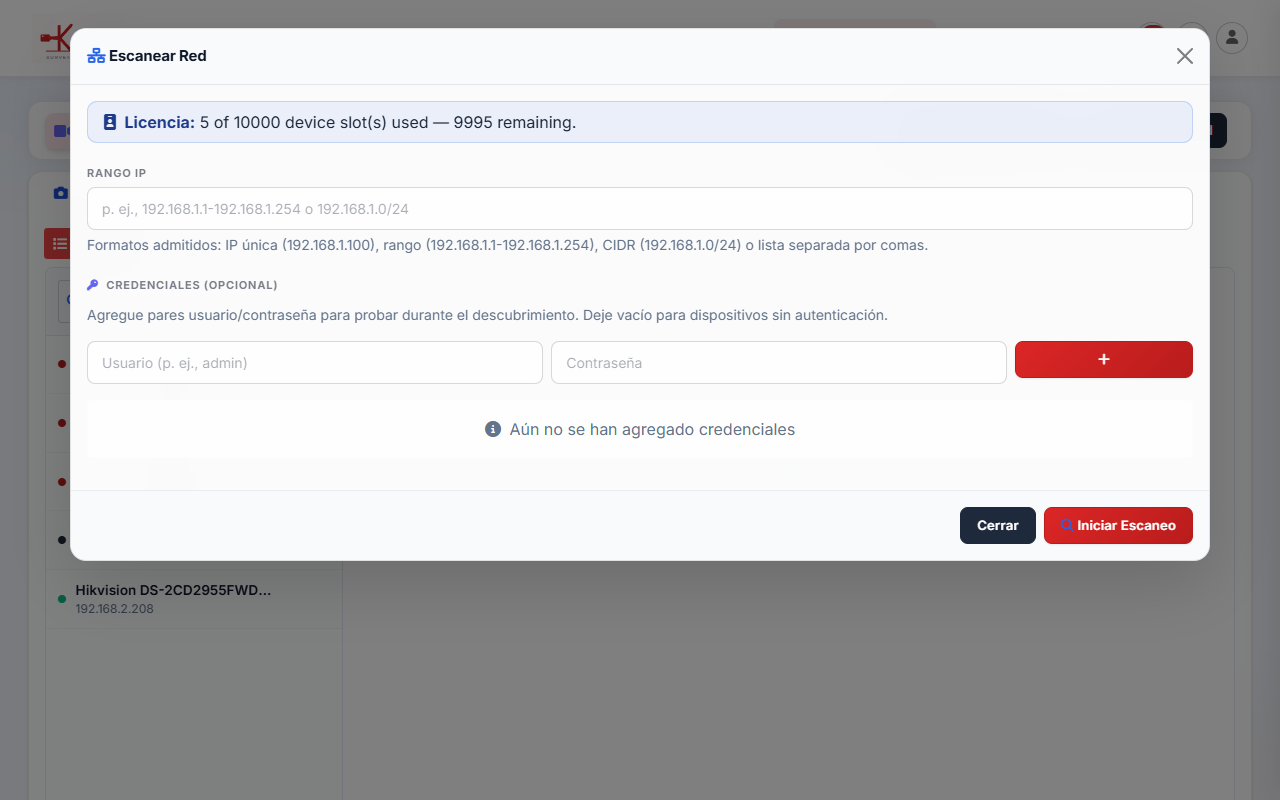
Discovered devices appear in the results list with their detected brand and protocol. Select the cameras you want to add and click Add Selected Devices.
If cameras are not found by the scanner, try adding them manually — the scanner relies on Bonjour/mDNS and ONVIF discovery which some cameras disable by default.
Manual Device Add
Click Add Device → Manual Add and fill in:
| Field | Description |
|---|---|
| Name | Friendly name displayed in the UI (e.g., Front Entrance) |
| Protocol | Auto-detect, ONVIF, Hikvision, Dahua, Axis, or Generic RTSP |
| IP Address | Camera's IPv4 address |
| Port | HTTP management port (default: 80 for most cameras) |
| Username / Password | Camera's web interface credentials |
| RTSP URL (optional) | Override the auto-detected RTSP stream URL |
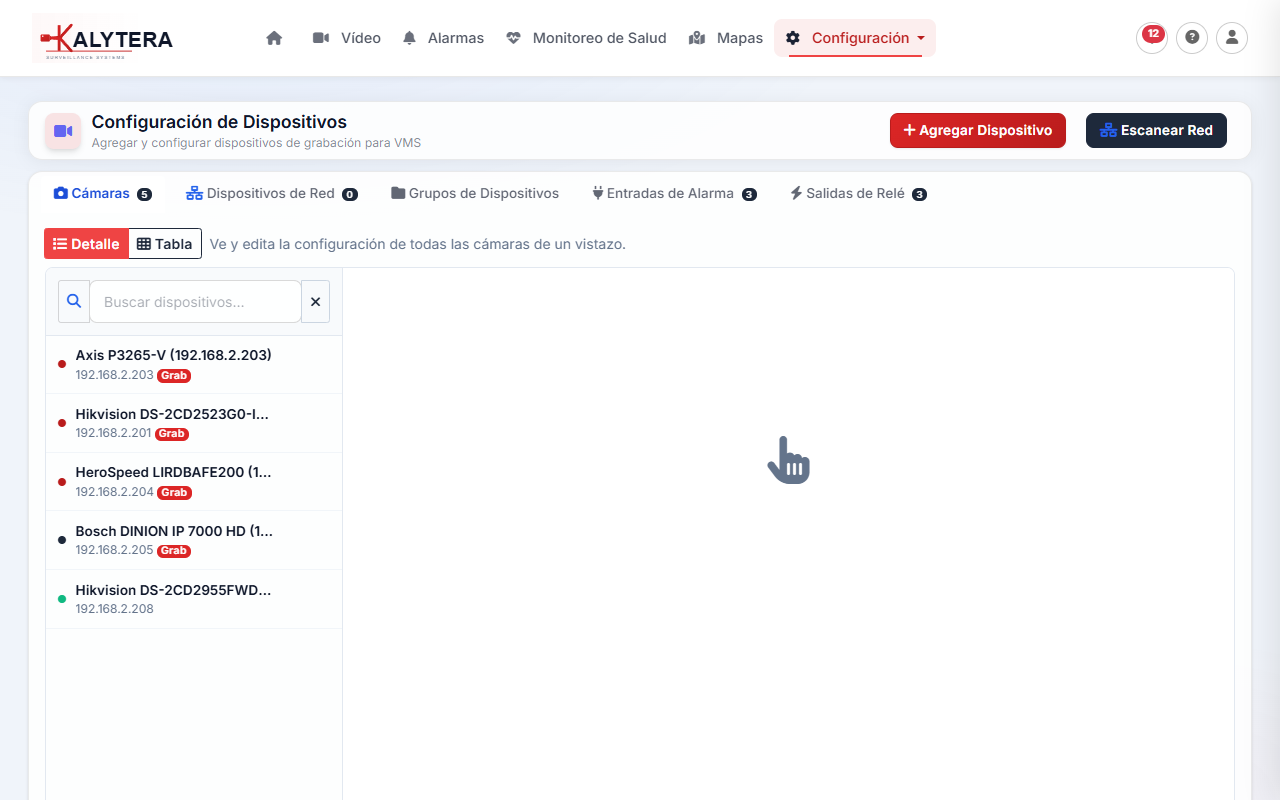
Click Add Device. Kalytera connects to the camera, retrieves its capabilities (resolution, codec, available streams), and adds it to the device list.
Device Status Indicators
Each device in the list shows a live status indicator:
- Online (green): Camera is reachable and responding to health checks.
- Offline (red): Camera is unreachable — check network connectivity or camera power.
- Recording (pulsing dot): Camera is actively recording.
Editing and Removing Devices
Click the Edit button (pencil icon) on any device row to update its name, credentials, stream URLs, or recording mode. Click the Delete button (trash icon) to remove a device — this stops any active recording and removes the device from all views and alarm rules.
Removing a device does not delete its existing recordings. Recordings remain on disk and can still be browsed in Playback by time range.
Substreams and Stream Selection
Most IP cameras provide two streams: a high-resolution main stream and a lower-resolution substream. Kalytera uses the main stream for recording and can switch to the substream for live viewing to reduce bandwidth — especially useful when many cameras are displayed simultaneously in a grid.
Stream selection is available per-cell in the live view (right-click a camera cell → Switch Stream) and as a global default in Setup → Devices → Edit → Video.