Contents
Installation Guide
Step-by-step instructions to install Kalytera VMS on Windows or Linux.
Prerequisites
Before installing Kalytera VMS, confirm your system meets these requirements:
- OS: Windows 10 / Windows Server 2019 or later (recommended: Windows Server 2022). Ubuntu/Debian amd64 is also supported.
- Administrator access — required to install the Windows service.
- Runtime: The official installer is self-contained — ASP.NET Core 10.0 and FFmpeg are bundled. No separate runtime installation is needed.
If you are building from source with dotnet run, install the .NET 10 SDK separately. The packaged installer handles runtime deployment automatically.
Download Kalytera
Download the latest release from the Downloads page. Choose the right package for your OS:
| Operating System | Package | Default Port |
|---|---|---|
| Windows | Kalytera-Setup-x.x.x.msi | HTTP 5099 · HTTPS 5443 |
| Ubuntu / Debian (amd64) | kalytera-vms_x.x.x_amd64.deb | HTTP 5099 |
The Community Edition (free, up to 4 cameras) can be downloaded directly. Paid editions require a license key — see the Licensing Guide.
Windows Installation
Right-click the downloaded .msi file and select Run as administrator, or run from an elevated PowerShell prompt:
Start-Process 'Kalytera-Setup-1.0.0.msi' -Verb RunAsFollow the setup wizard:
- Accept the license agreement.
- Choose the installation directory (default:
C:\Program Files\Kalytera VMS). - Select optional features — Start Menu shortcuts and Desktop shortcut are enabled by default.
- Click Install and wait for completion, then click Finish.
Verify Installation
Open your browser and navigate to:
| Protocol | URL |
|---|---|
| HTTP (default) | http://localhost:5099 |
| HTTPS (optional) | https://localhost:5443 |
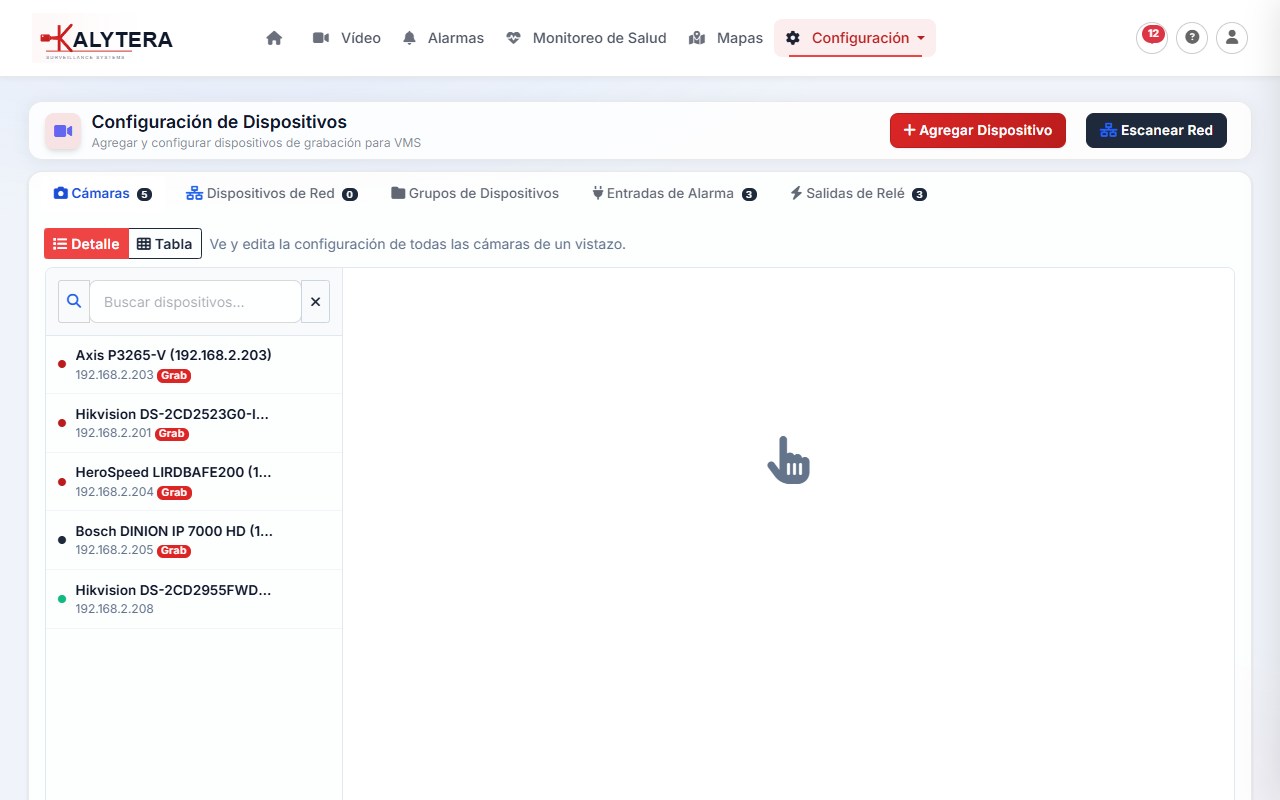
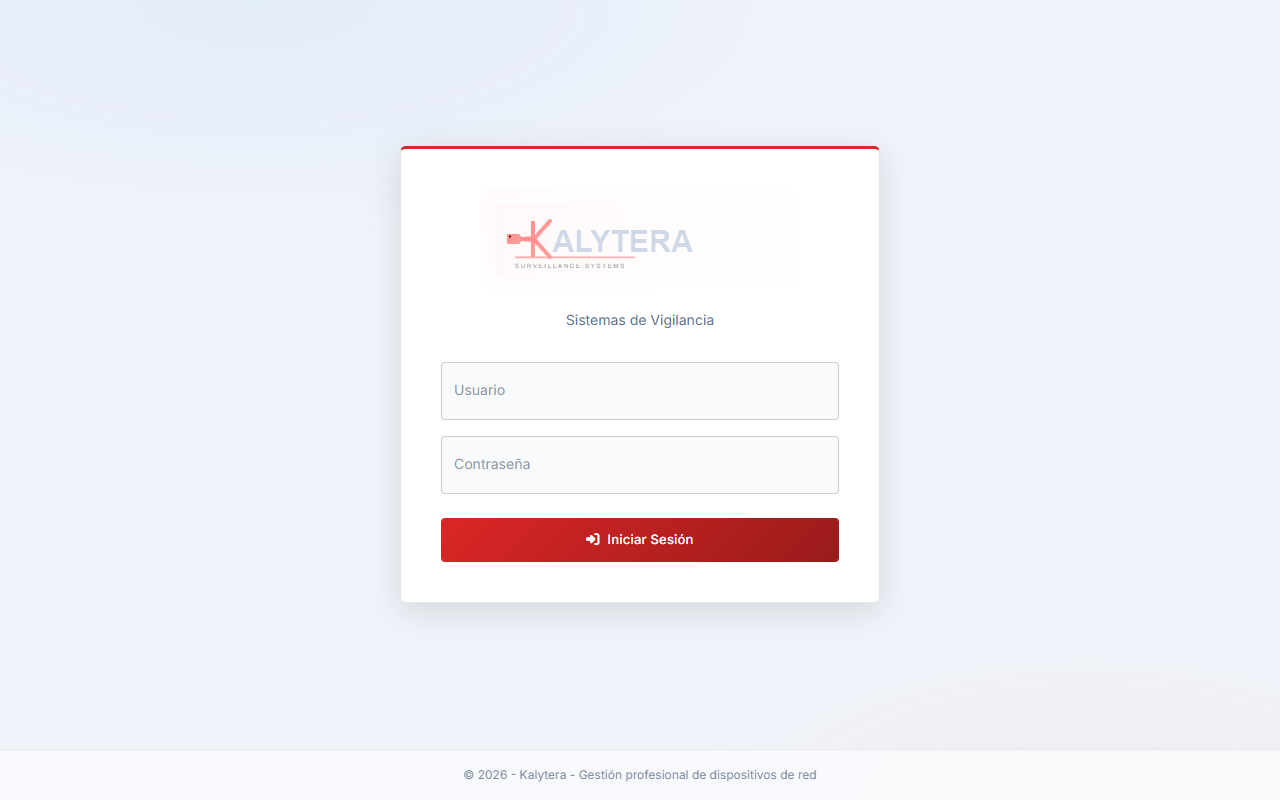
On a fresh installation, the browser redirects to the First Time Setup page to create the admin account. If an admin already exists, you will see the login page.
Windows Service Management
Kalytera is automatically registered as a Windows service named KalyteraVMS with Automatic startup and auto-restart on failure. Manage it via PowerShell:
Get-Service KalyteraVMS         # Check status
Start-Service KalyteraVMS       # Start
Stop-Service KalyteraVMS        # Stop
Restart-Service KalyteraVMS     # Restart
You can also use Windows Services (Win+R → services.msc) to manage the service interactively.
Linux Installation
On Ubuntu or Debian amd64, install the .deb package:
sudo apt install ./kalytera-vms_1.0.0_amd64.deb
systemctl status kalytera-vms
The package installs to /opt/kalytera-vms/, registers a kalytera-vms systemd service, and binds to http://0.0.0.0:5099. FFmpeg and the ASP.NET runtime are bundled.
To remove Kalytera while keeping recordings and the database: sudo apt remove kalytera-vms. To remove everything including data: sudo apt purge kalytera-vms.
Uninstalling (Windows)
- Open Settings → Apps → Installed apps (or Control Panel → Programs and Features).
- Find Kalytera and click Uninstall.
- Follow the prompts.
Recordings and database files in your configured storage path are not removed during uninstallation. Delete them manually if you no longer need them.
Next Steps
After installation, proceed to First Time Setup to create the admin account, complete the configuration wizard, and add your first camera.