Contents
First Time Setup
Create the admin account, complete the configuration wizard, and add your first camera.
Accessing the Web Interface
After installation, open your browser and navigate to http://localhost:5099 (or replace localhost with the server's IP address for remote access). On a fresh install, you are automatically redirected to the admin account creation page.
Create the Admin Account
The first account created in Kalytera becomes the admin account with full system access. Fill in a strong password and click Create Admin Account.
Choose a strong password — this account has unrestricted access to all cameras, recordings, and system settings. Store it securely.
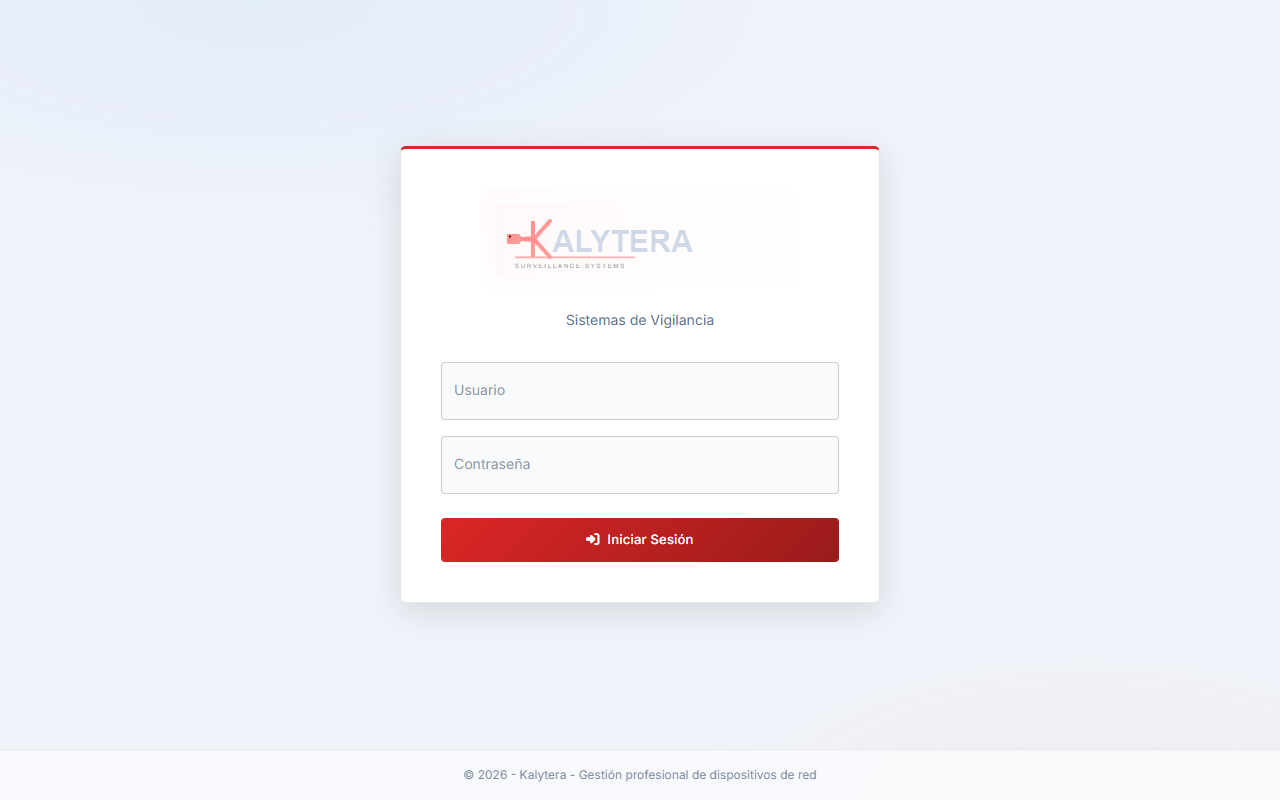
After creating the account, you are redirected to the login page. Sign in with admin and the password you just set.
Configuration Wizard
After the first login, Kalytera launches the Setup Wizard to guide you through essential configuration steps:
- Storage: Choose where recordings are saved. Select a drive with enough free space (see System Requirements for storage estimates). The path is configured at Setup → General Settings → Recording Path.
- License: Enter your license key if you have a paid edition, or continue with the free Community Edition (up to 4 cameras).
- Add Camera: Optionally add your first camera during the wizard. You can also skip and add cameras later from Setup → Devices.
Dashboard Tour
After completing the wizard, you land on the Overview dashboard. The main navigation bar at the top provides access to all areas of the system:
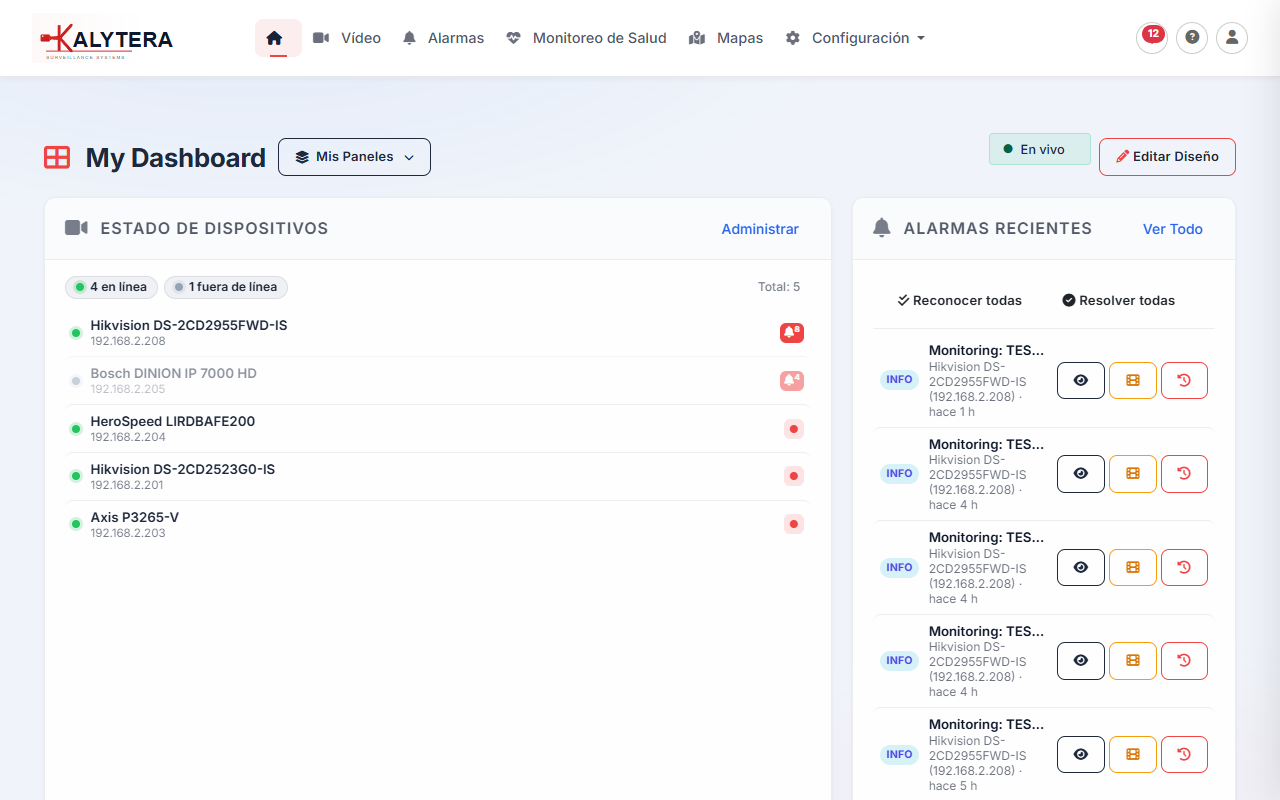
- Video — Live view and Playback
- Alarms — Active alarm events
- Health Monitoring — Device health summaries
- Maps — Camera floor plan layout
- Setup — Devices, Recording, Users, and system configuration
Add Your First Camera
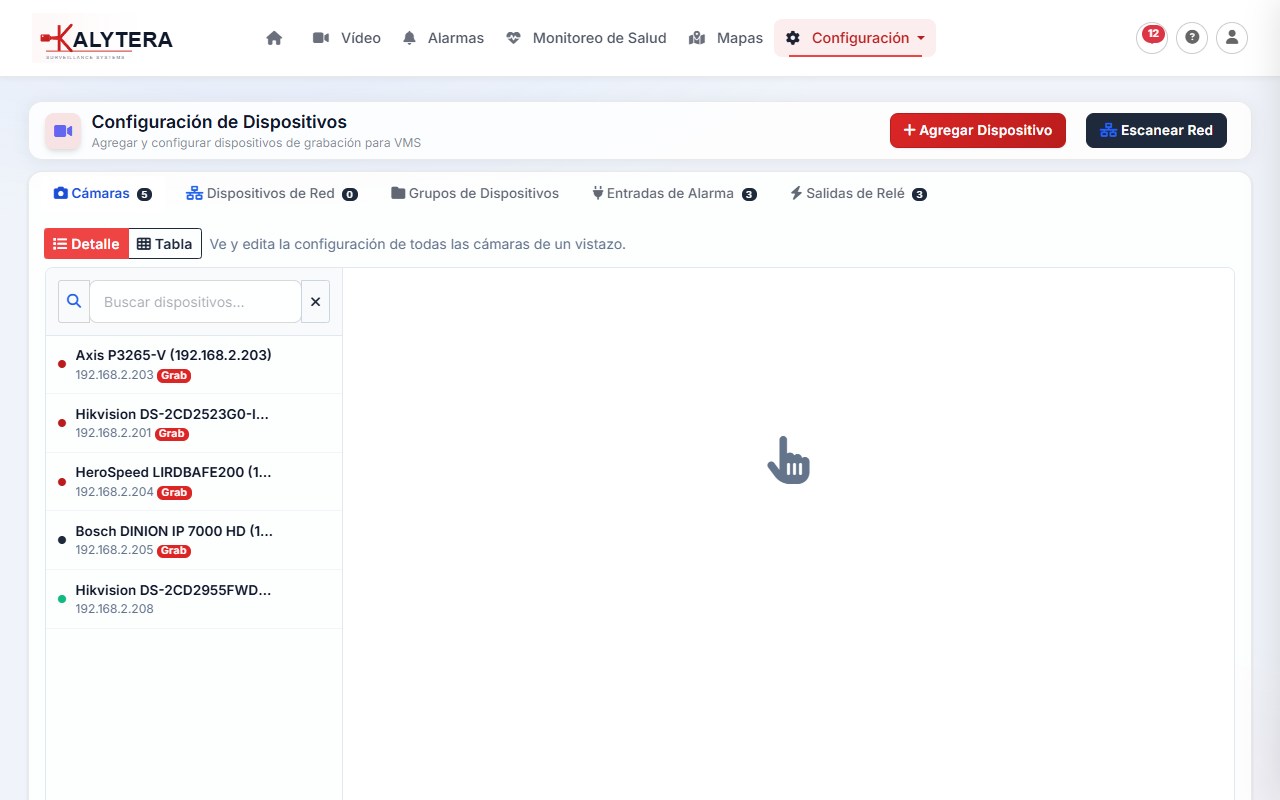
Navigate to Setup → Devices and click Add Device. You have two options:
- Network Scan: Let Kalytera scan a subnet to auto-discover cameras. Enter an IP range (e.g.,
192.168.1.1–192.168.1.254), click Start Scan, select the devices found, and click Add Selected Devices. - Manual Add: Enter the camera's IP address, port, username, and password directly.
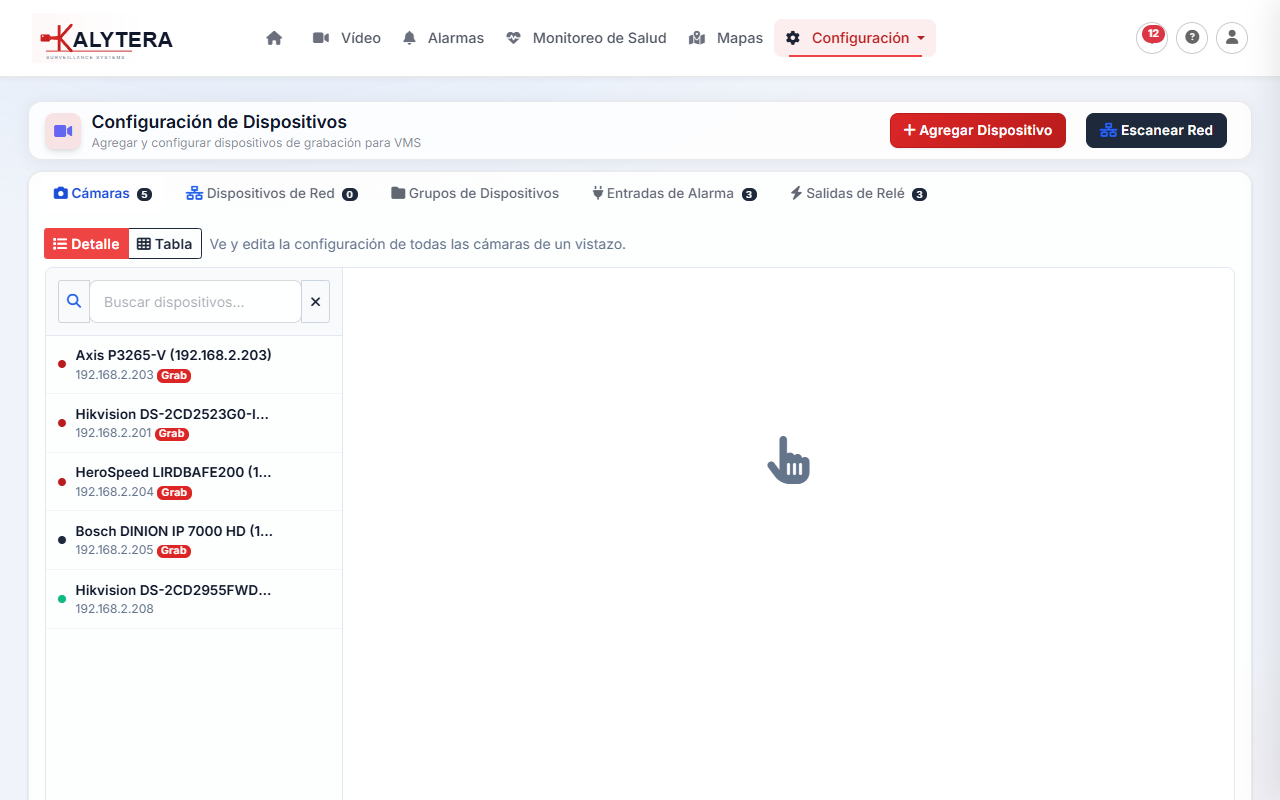
For a detailed walkthrough, see the Device Discovery guide.
Configure Recording
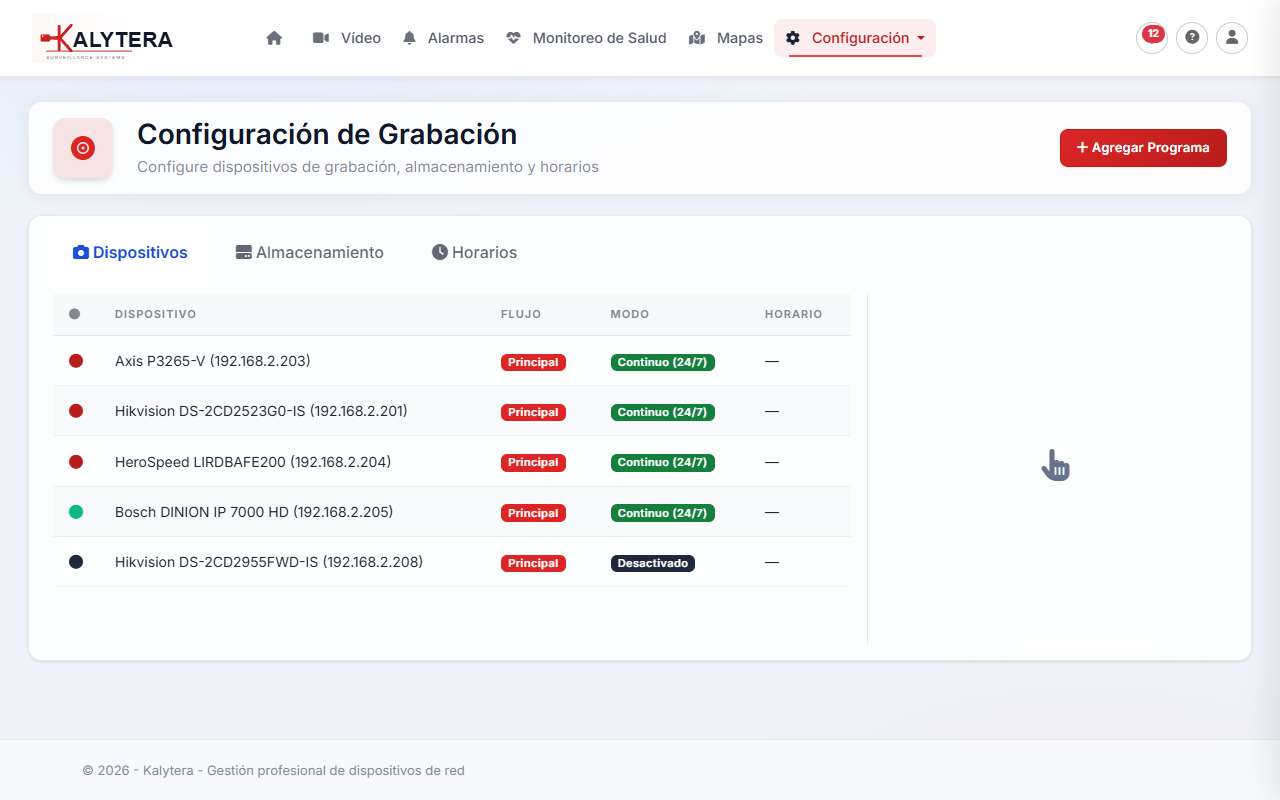
Navigate to Setup → Recording to set the recording mode for each camera. The default mode is Continuous (24/7). For motion-only recording, switch to Motion mode. See the Recording & Playback guide for full details.